Sarissa Refinery
/I have finished the last core building for Scenario 2 of Lurkers from the Deep.
Took longer than i wanted but it came up well.
Here is an official photo from Sarissa.

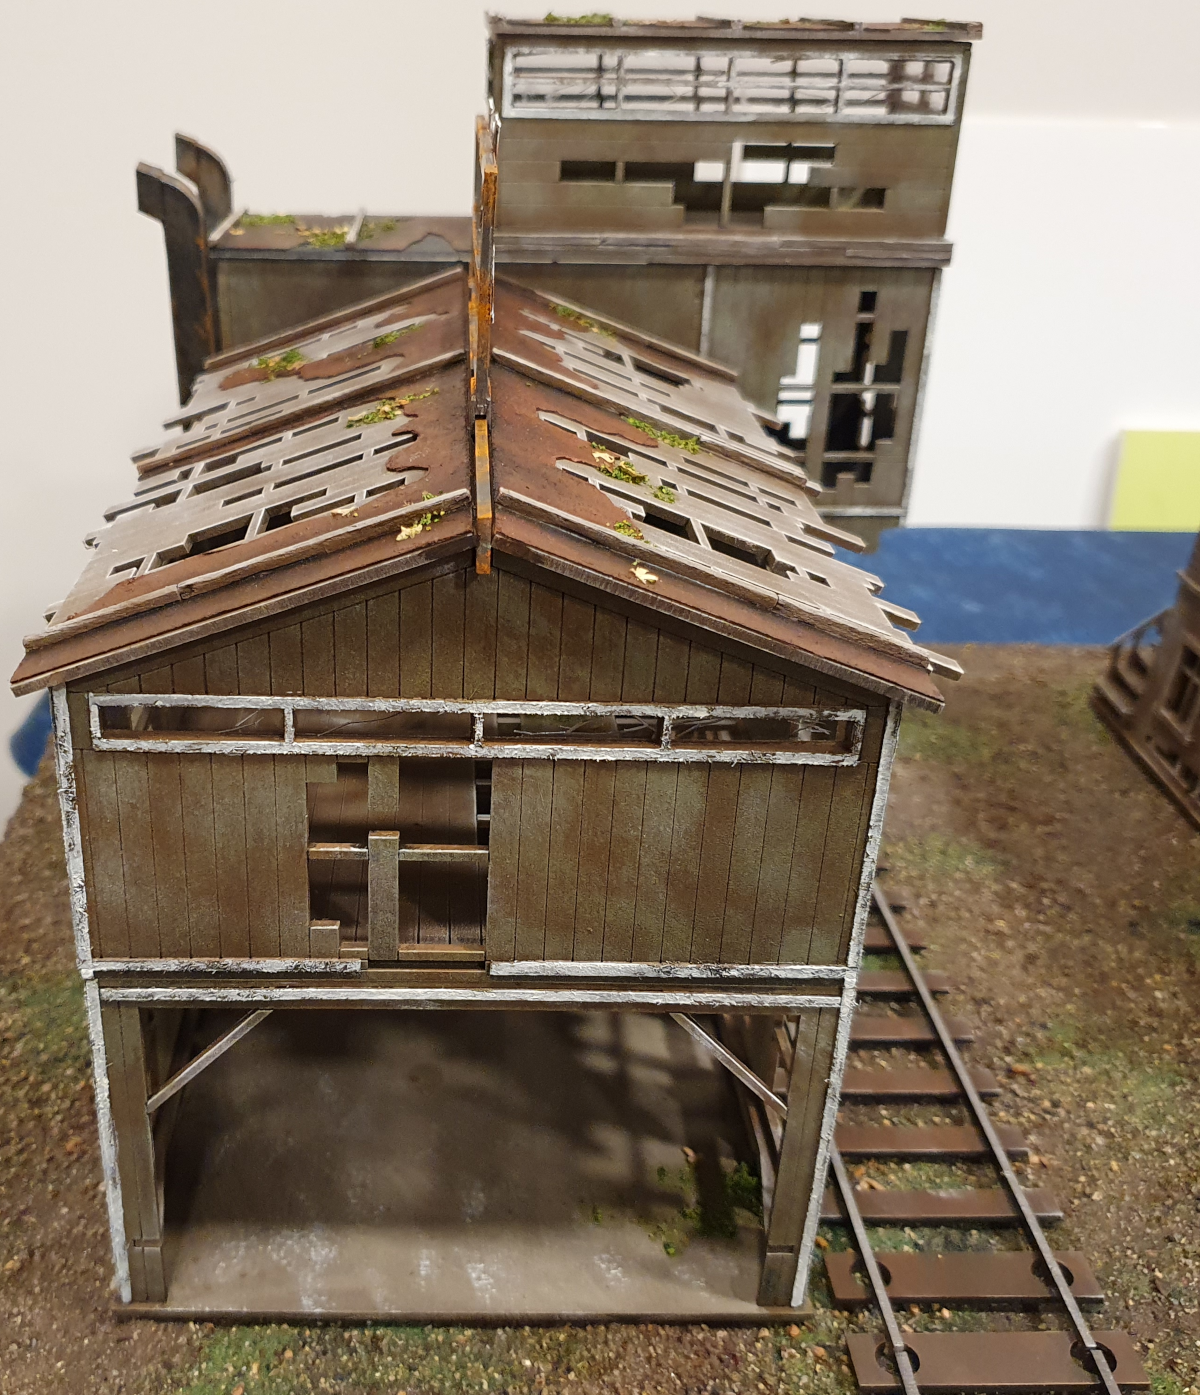
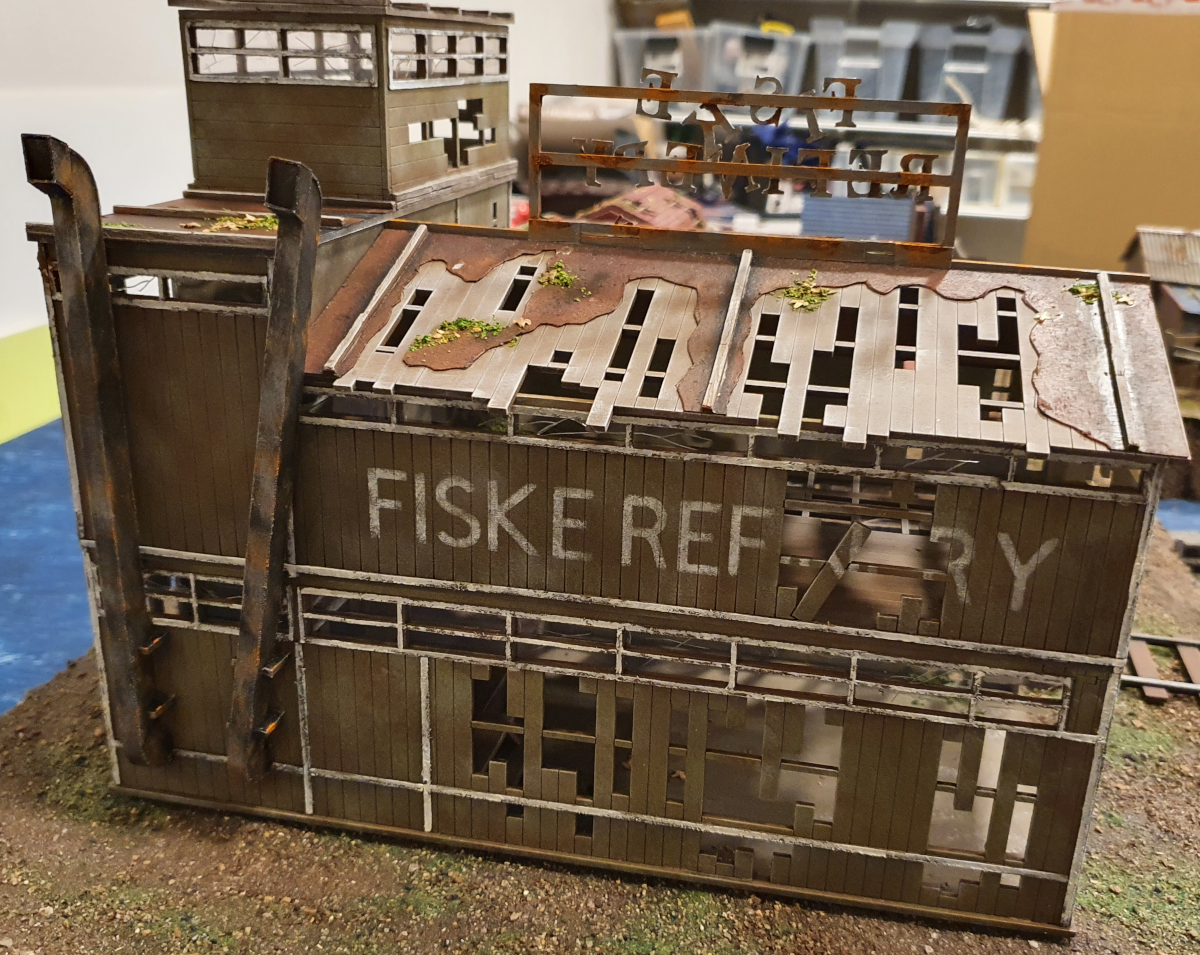
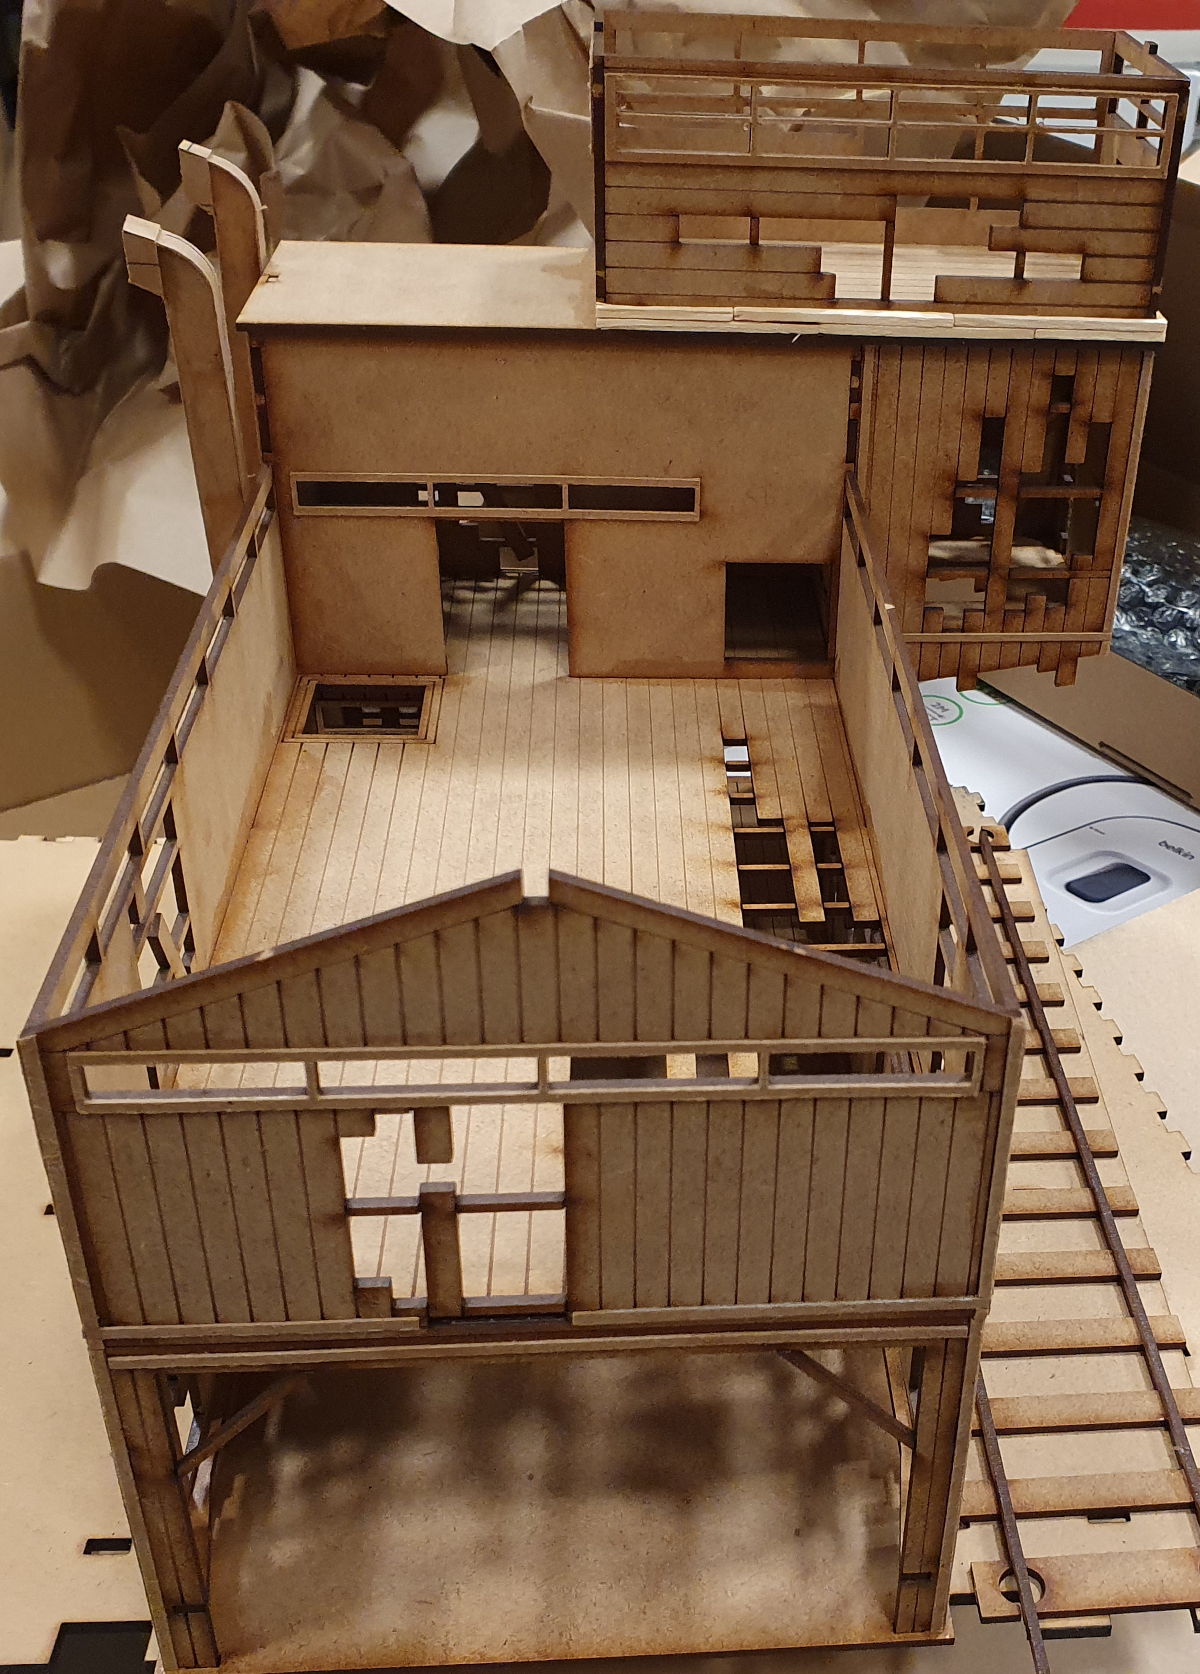
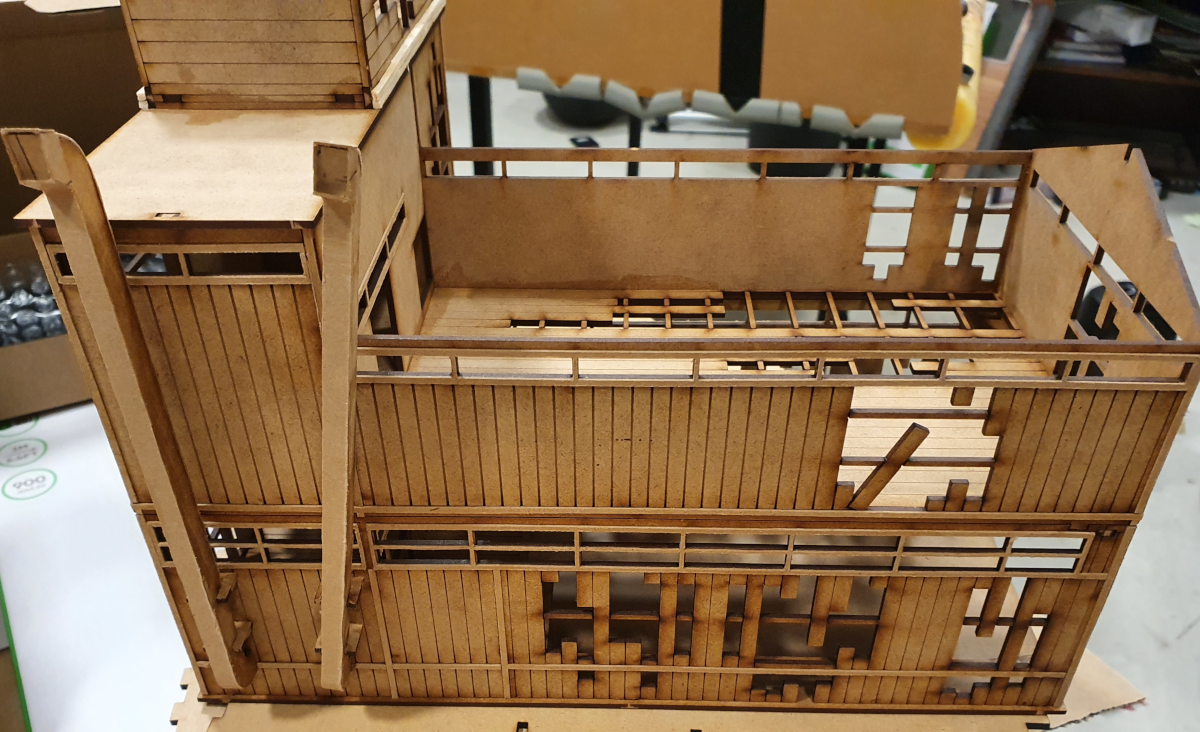
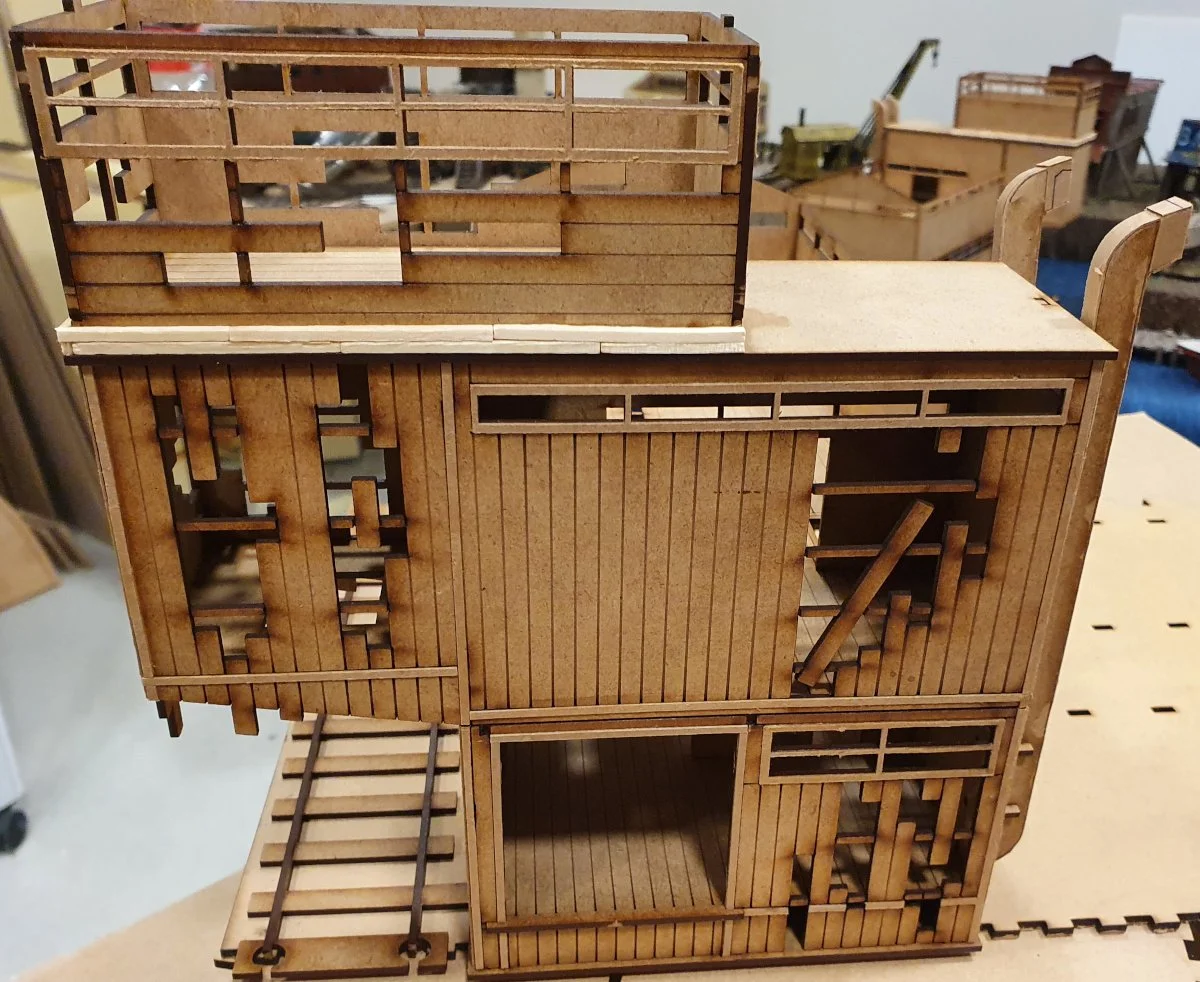
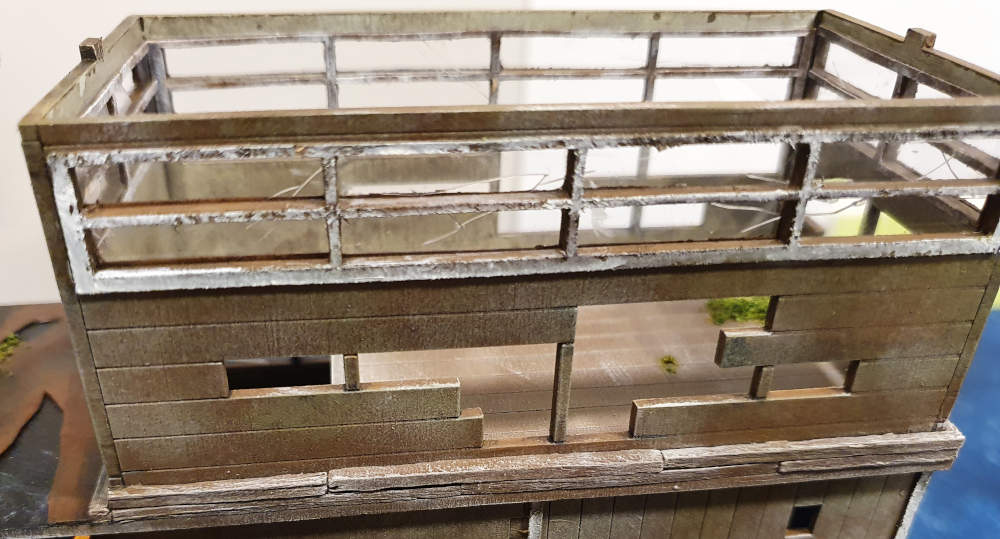
Here is the model assembled. You can see on the outside i have added window frames, and card banding to imitate areas that looked like they had additional layers of wood. the 3d effect really helped the building. the window frames were made with my Cricut cutter after some trial and error.
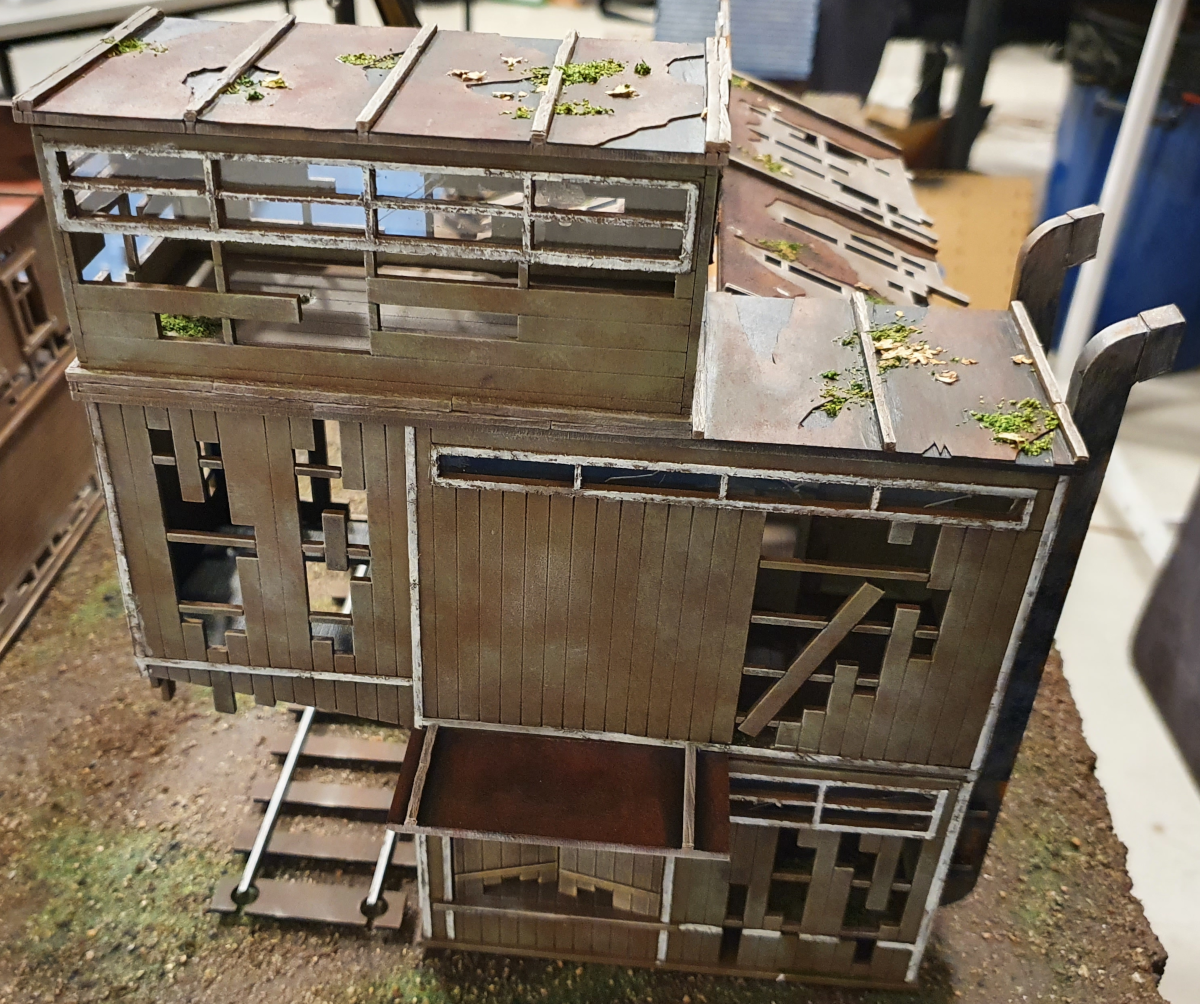
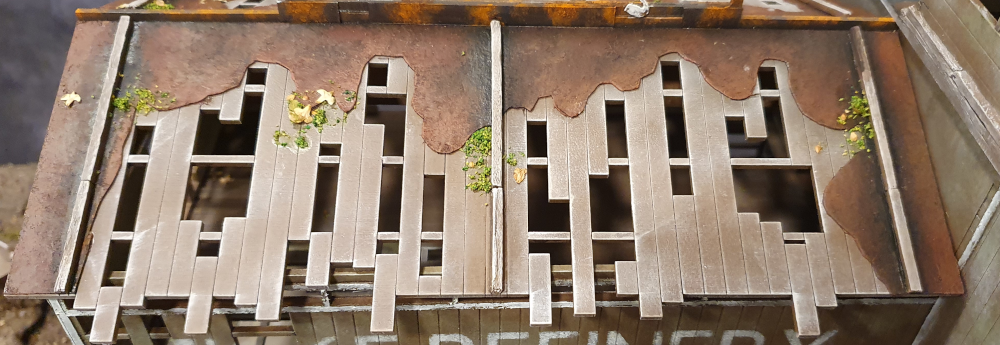
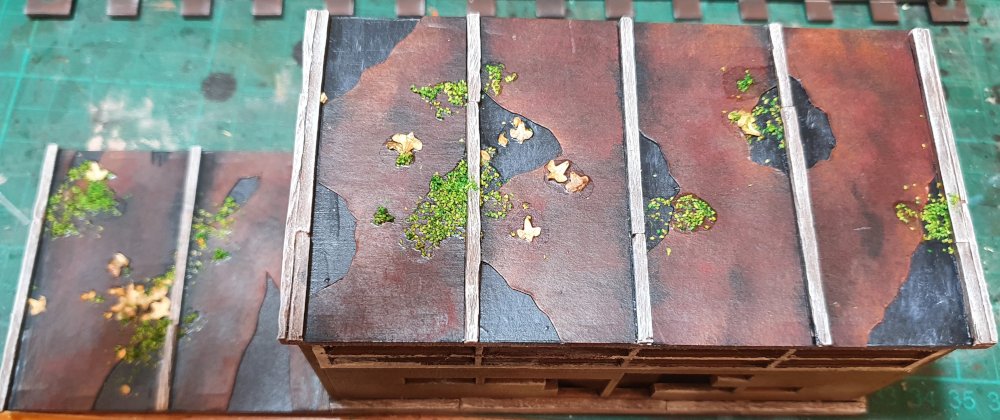
I also added match sticks around the base of the top floor and on the lining of the roof panels, and the roof pieces were done in card, to show a 3d effect of roof panels breaking apart to show the bare wood beneath. i forgot to get photos of the roof panels before painting, but you can see them in the painted photos.


Doors:
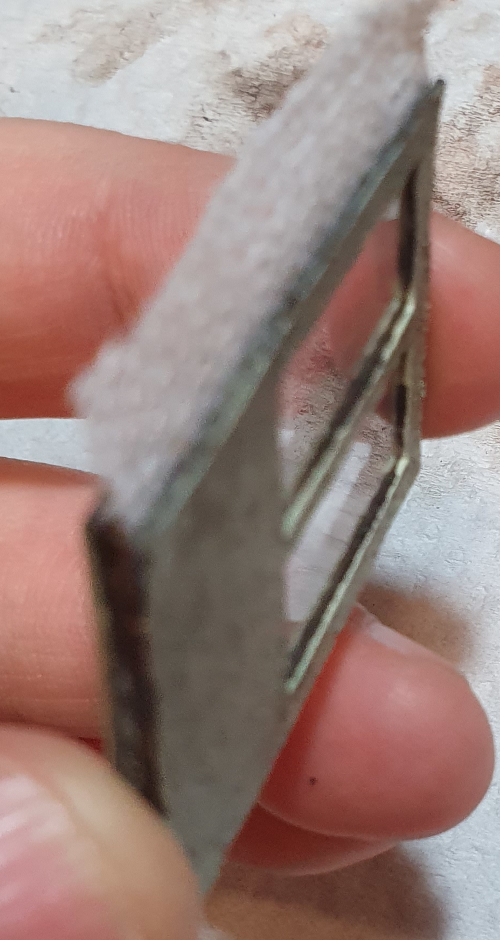
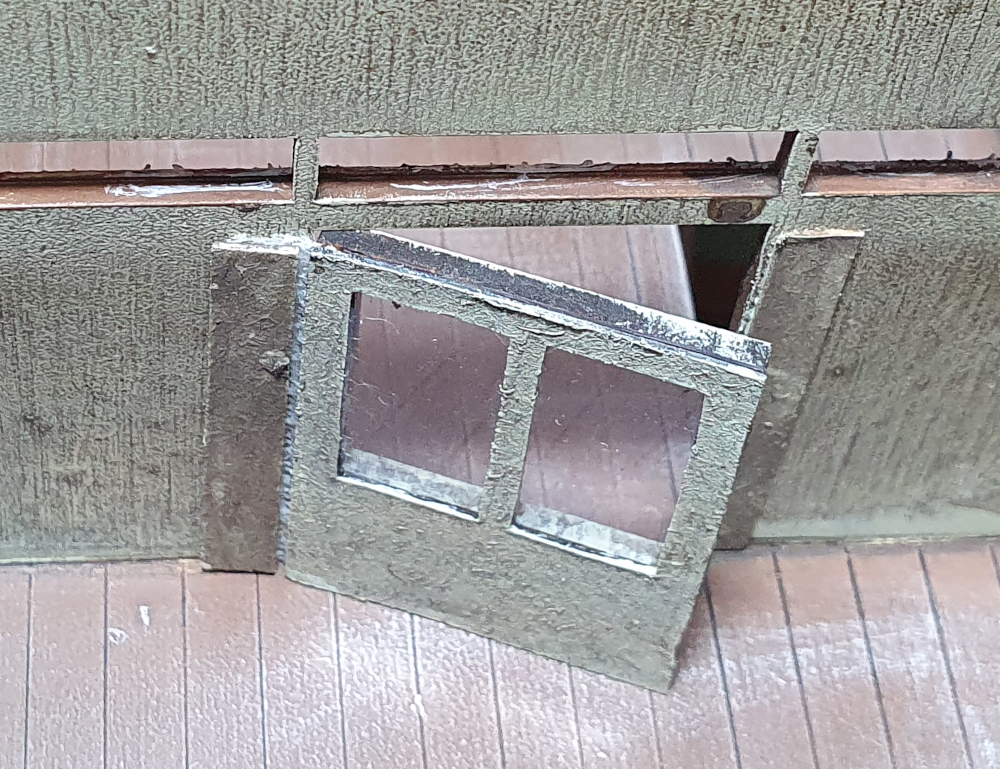
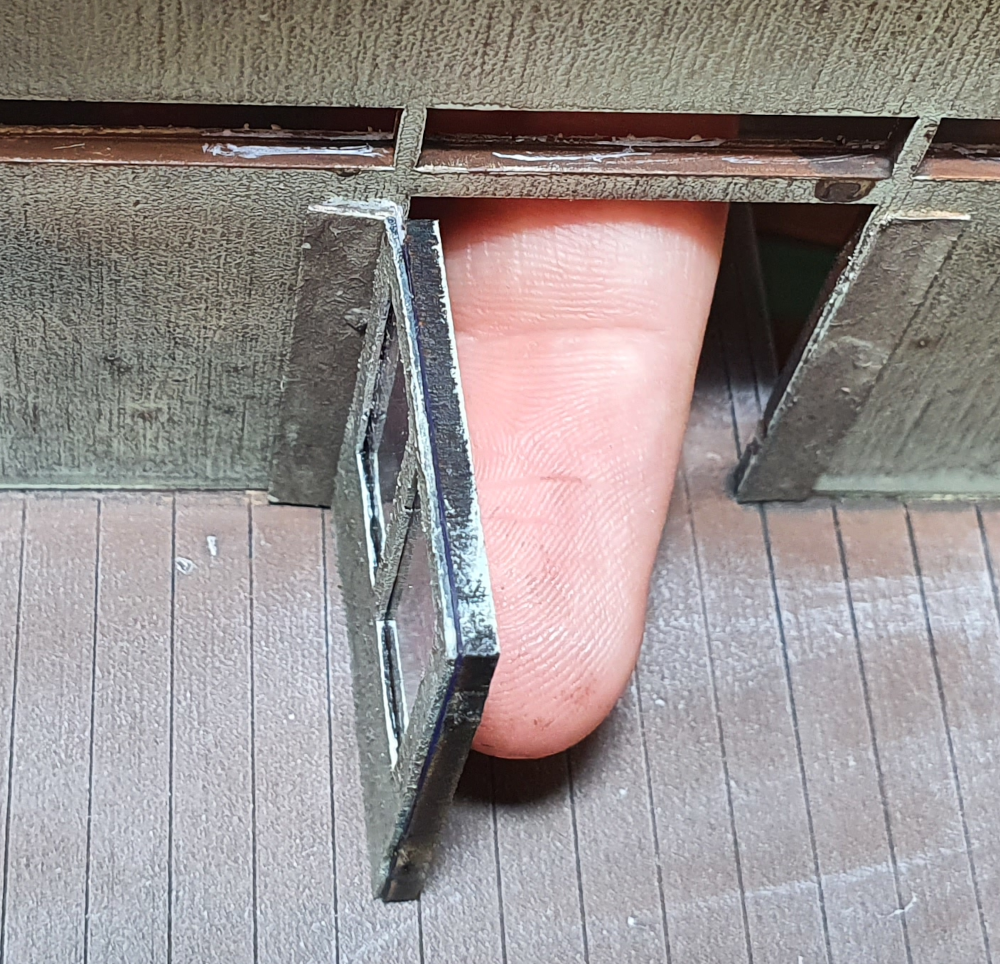
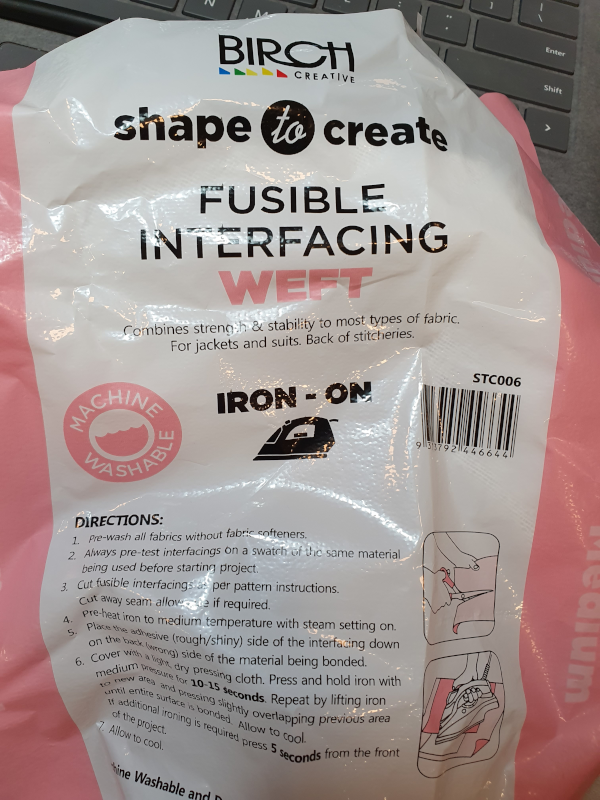
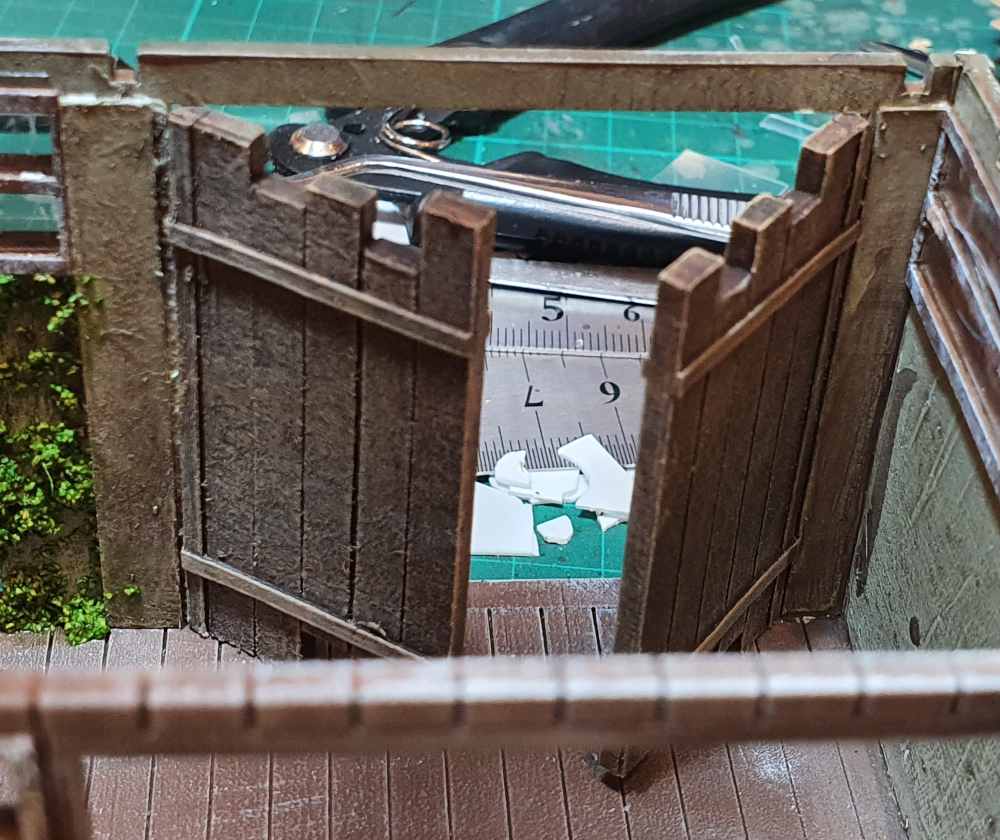
I decided to make the doors hinge. I used some Weft material, glued it in place and sandwiched between two sides of the doors. on both sets of doors i made the reverse side as on laser cut terrain one side ends up plan so i made a duplicate in card on my cricut. this made a sandwich for the weft, and on the door with a window i added some acetate for a window.
the weft was glued into the building and then covered with card to hide it. it provides a good hinge, though it does not stay all the way open. i used super glue for the small door but would not use this again and would use Mod podge as the super glue goes to far solidifying the weft.

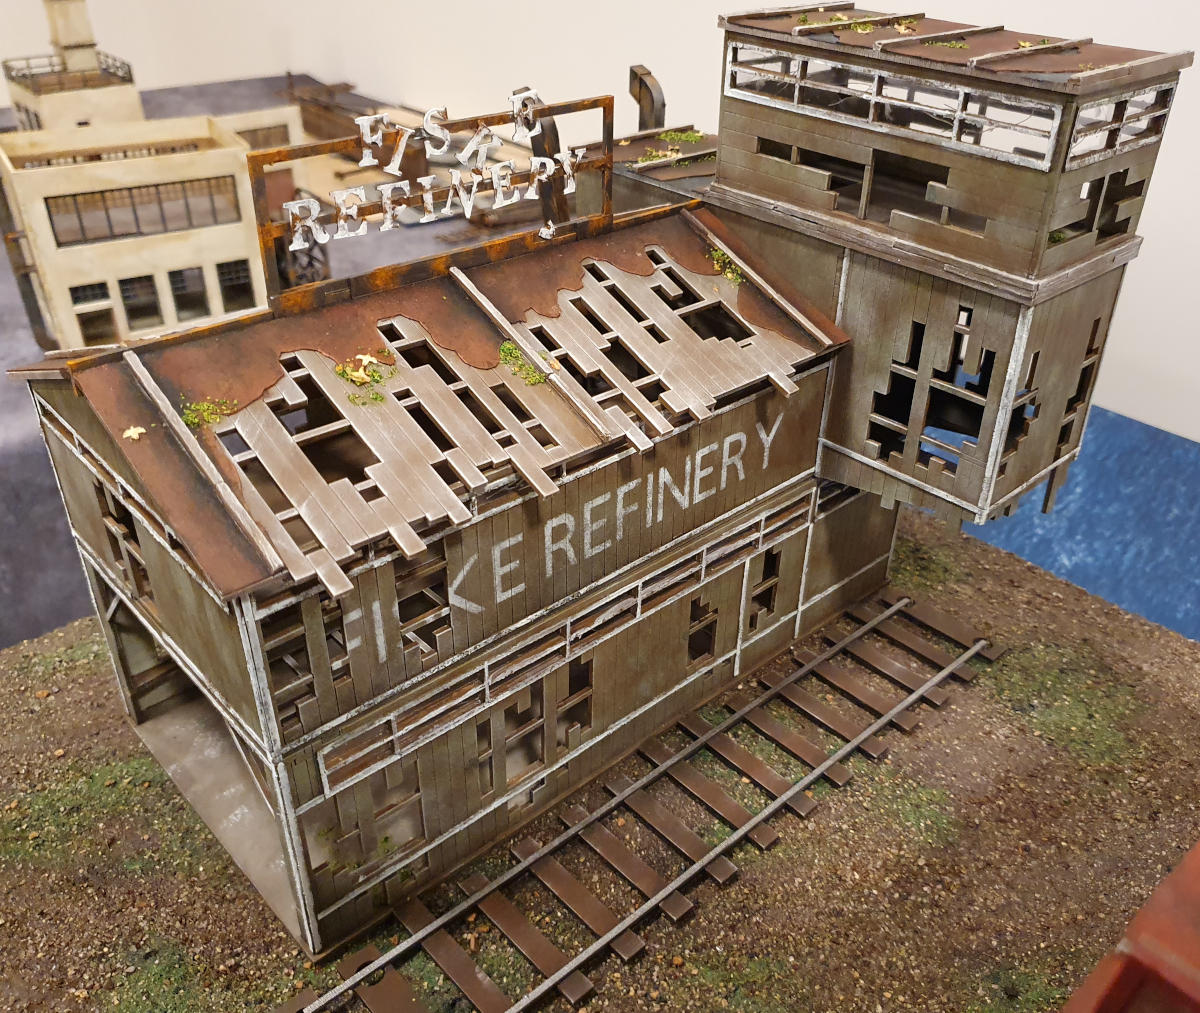
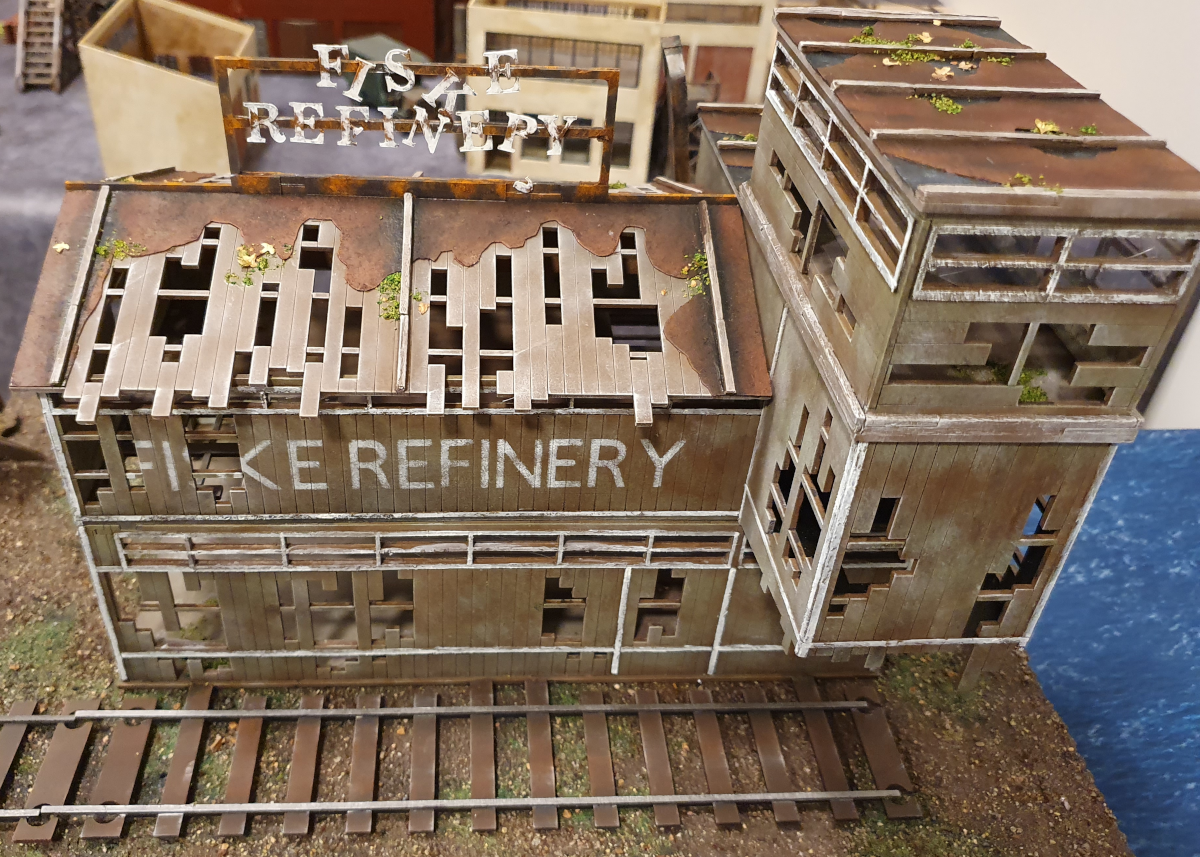
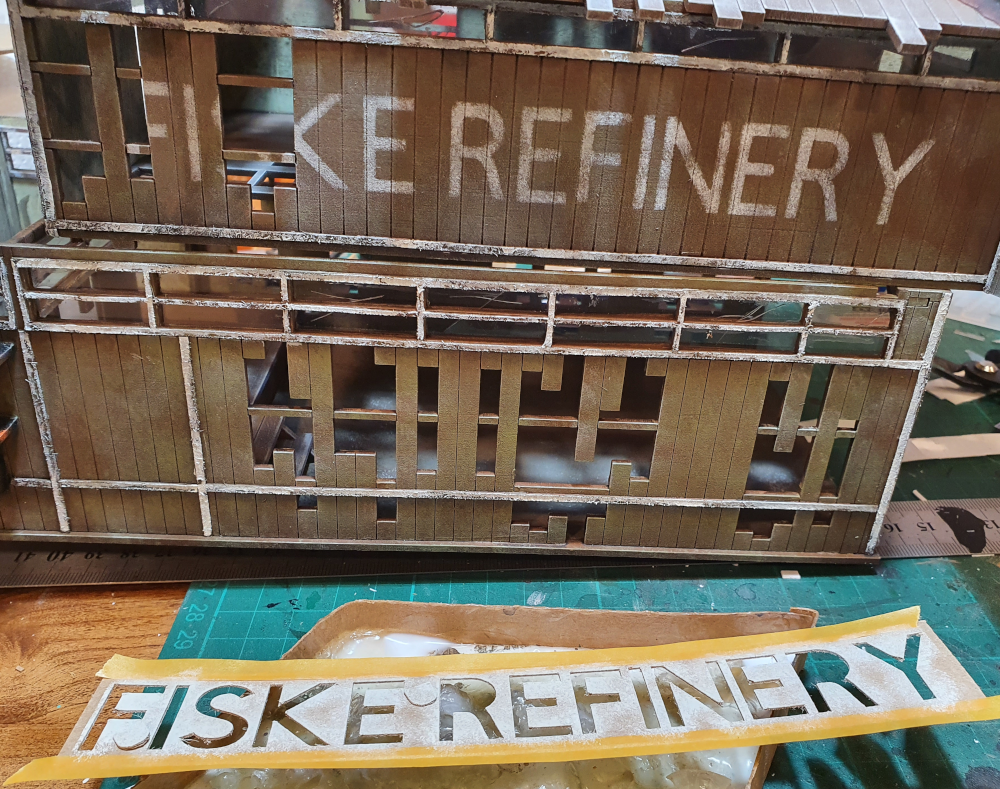
Sign:
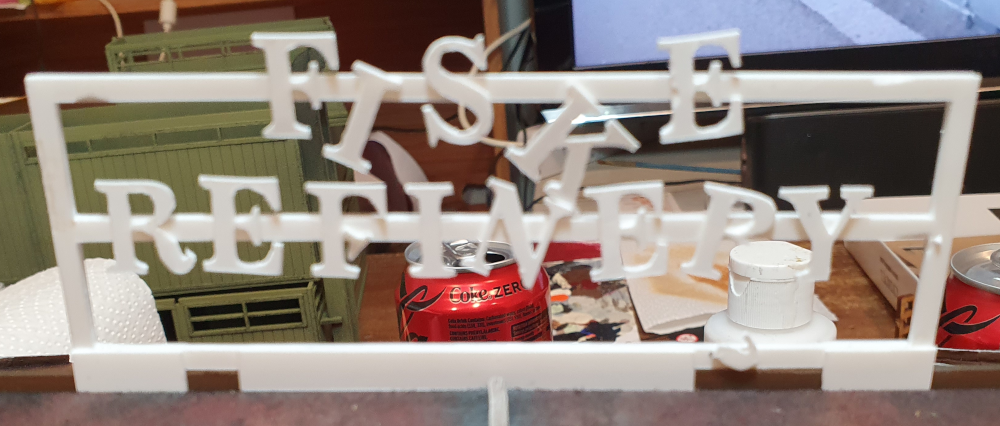
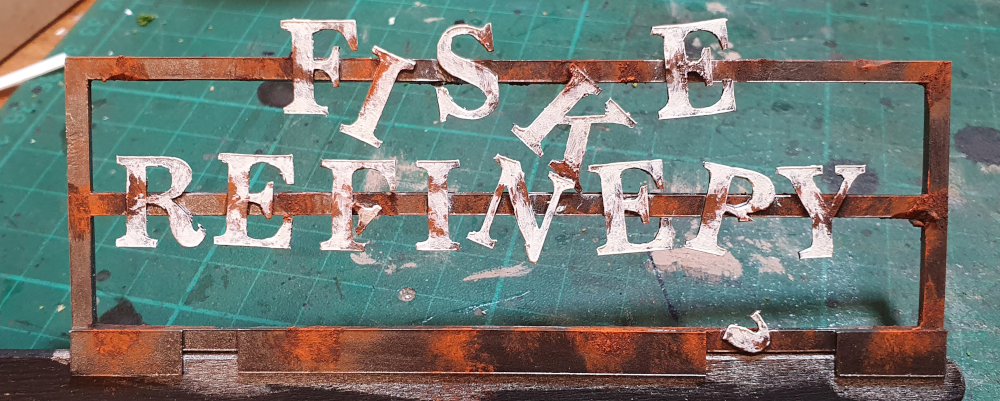
As this is for the Lurkers campaign, and is being used by Dr Fiske i wanted it to show. So i cut out the individual letters and the frame (3 layers of frame) and then glued on the letters. the Cricut does not cut all the way through so i had to cut the styrene letters out, and i should not have used a Serif font. lesson learned. I made a frame for it so it can be fitted on to the roof line.
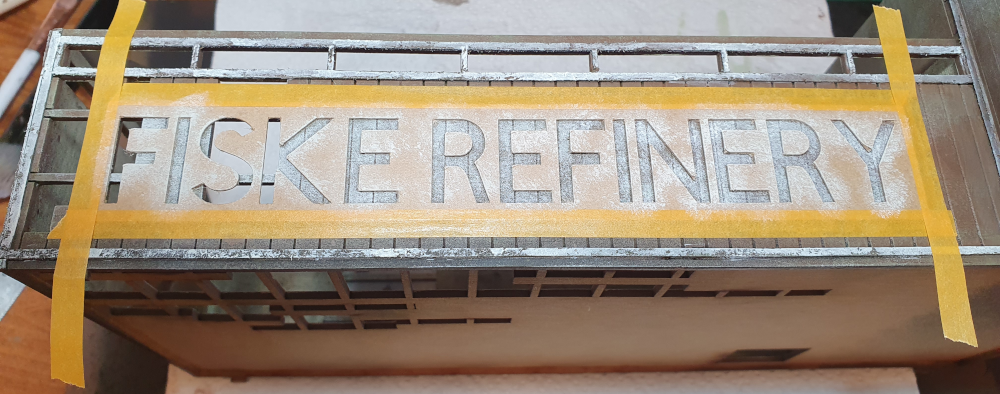
Stencil:
Just to add to the work, i used a test cutting of the refinery name from my Cricut and made a stencil from it which i used to stipple on to the side of the building.
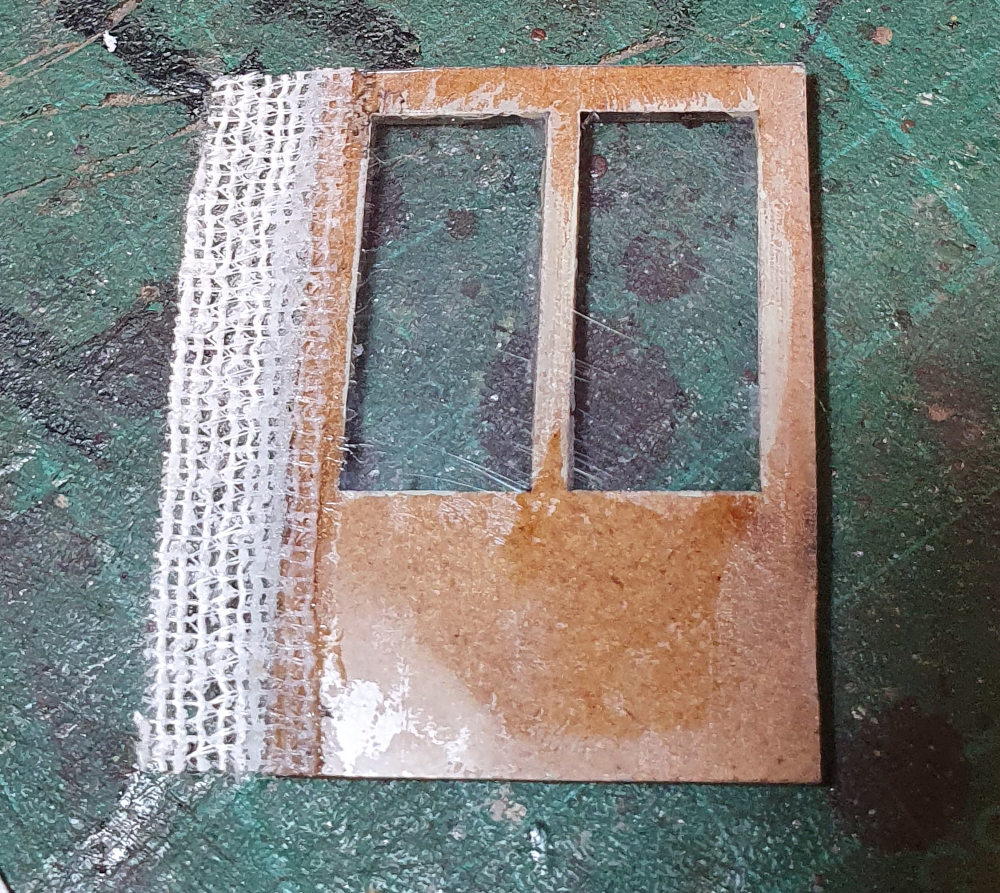
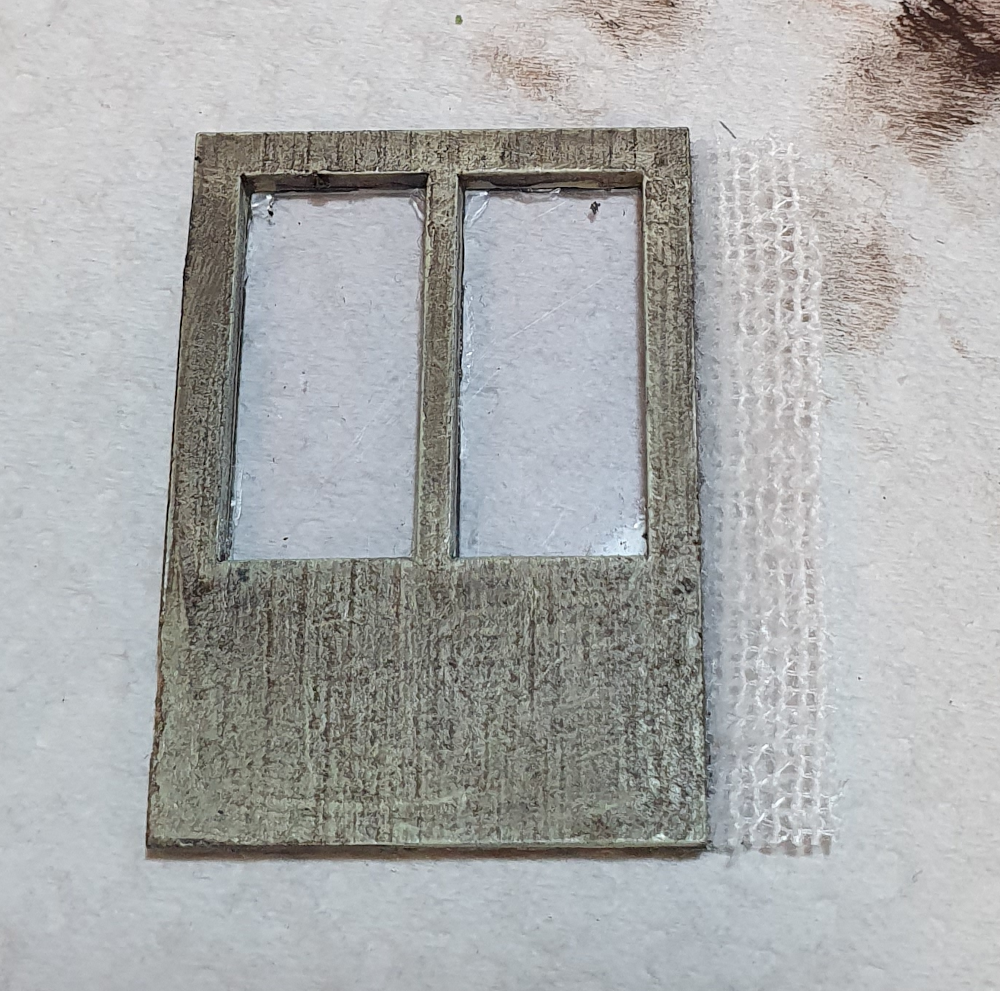
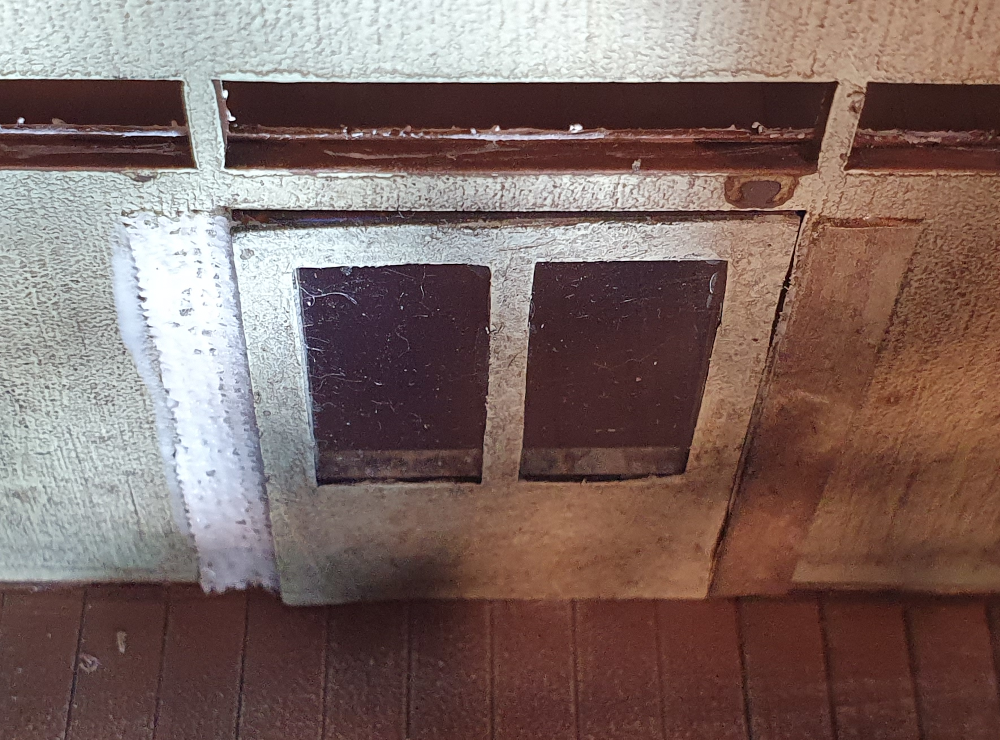
Windows:
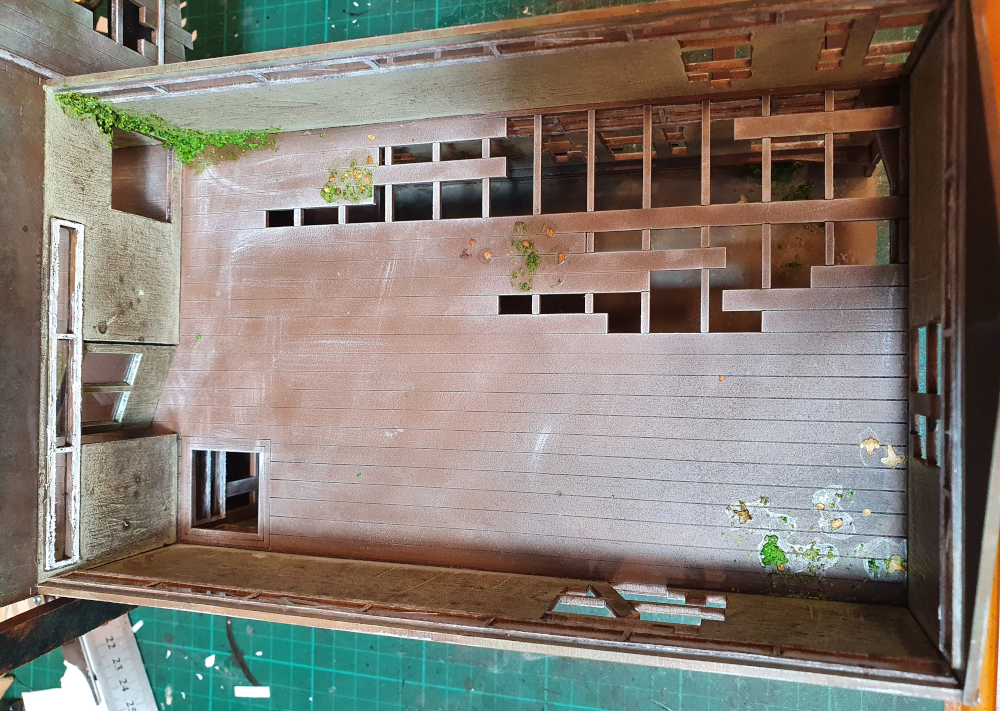
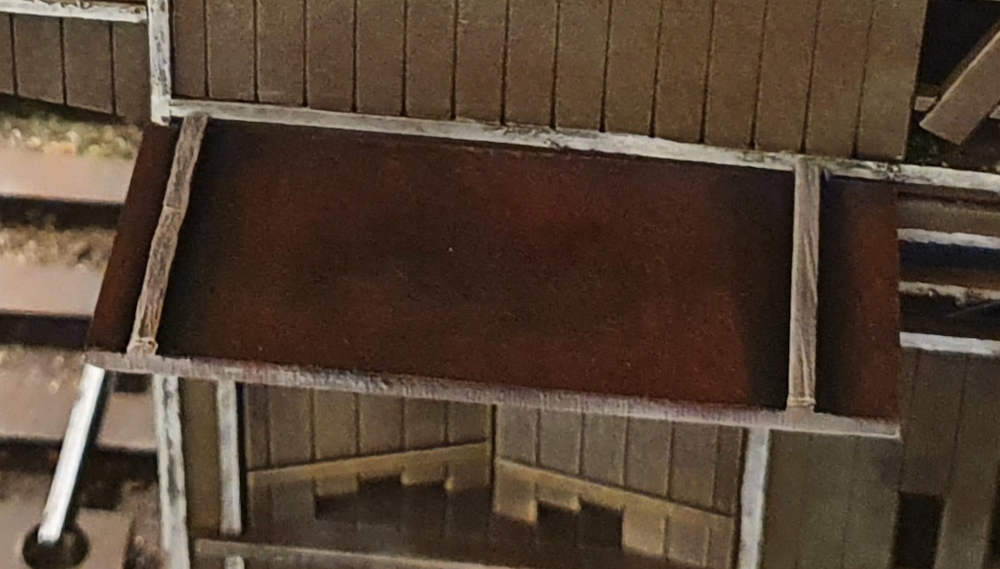
I cut out the window frames again and glued them on to acetate, after cutting scratches and holes, i glued to the inside of the windows to show them as glass. hard to see as they are clear, but you can see it in this photo. every window was done this way and the building has over 10. I may choose to weather them with sepia wash but its already pretty busy.
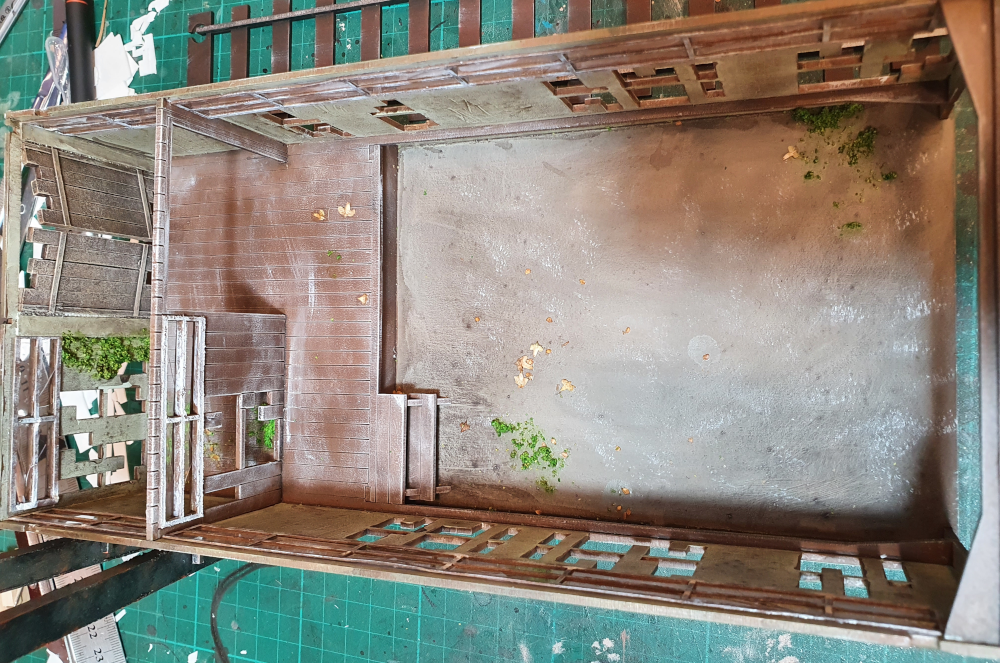
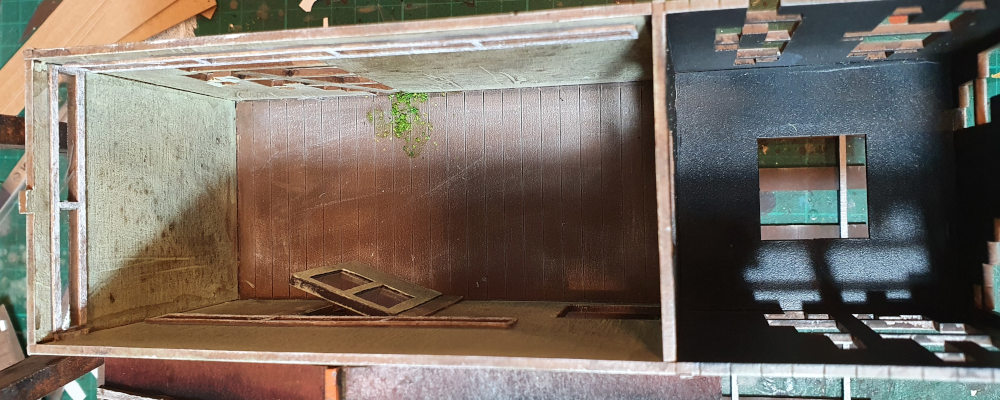
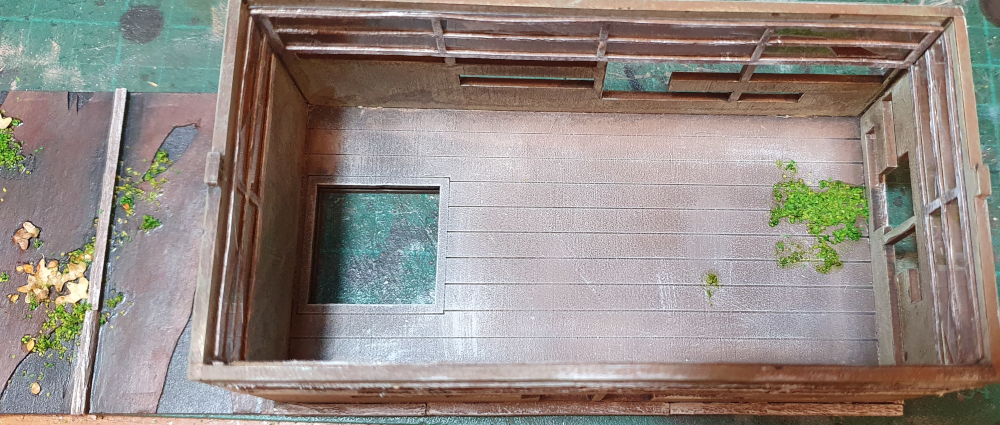
Painting and Interior:
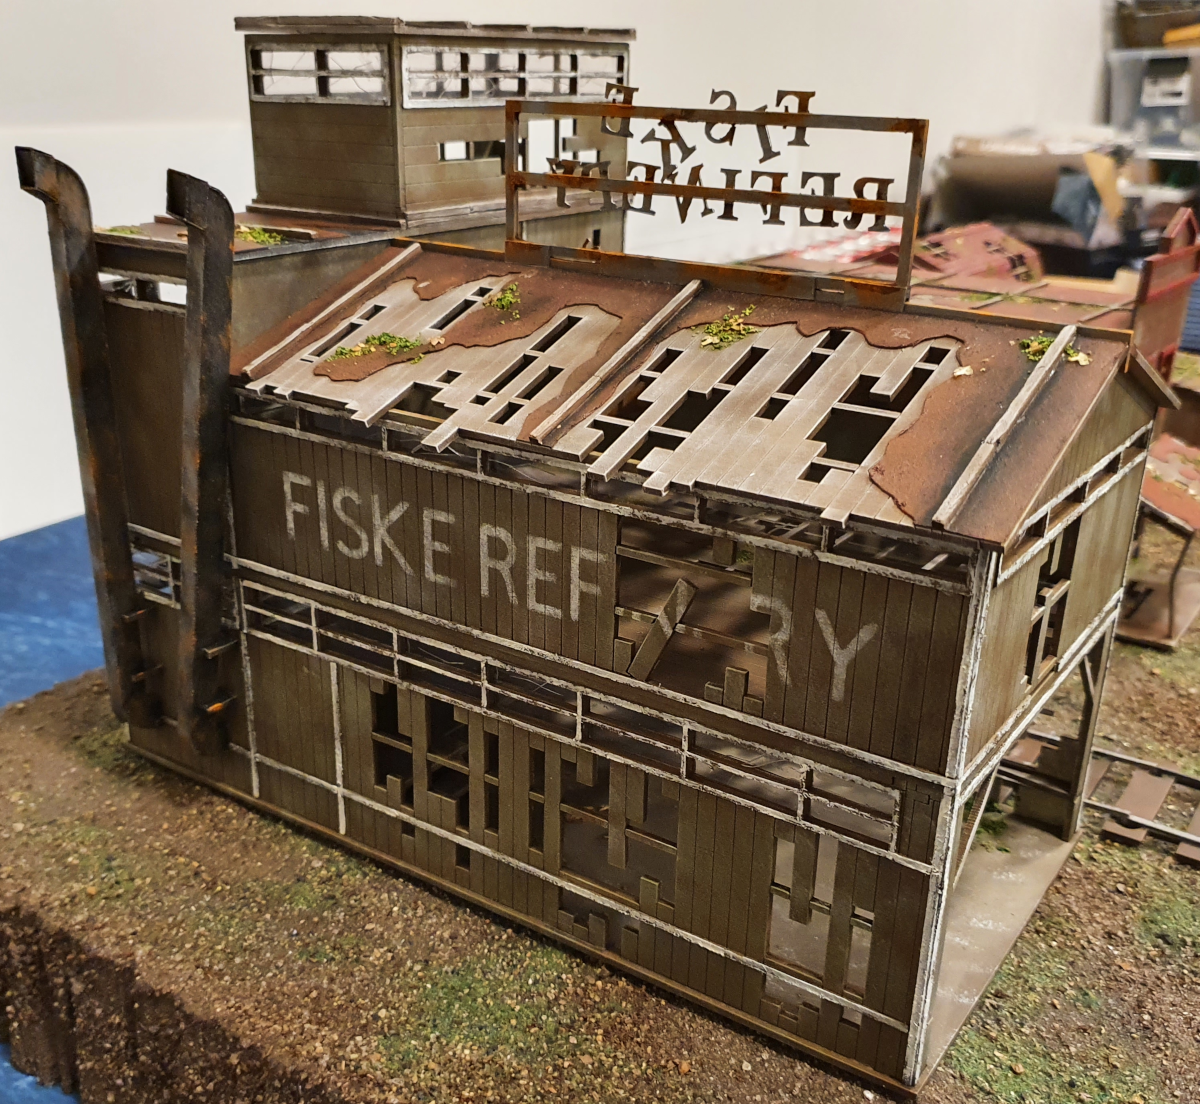
I base coated the building with Army Painter Leather brown, washed it with a black and brown wash and then heavy stippled on GW Death Guard Green (the non damaged version will start on Death Guard Green).
I did a light stippling with Titan buff, and the window frames and stencil were done with American Light Butter milk paint.
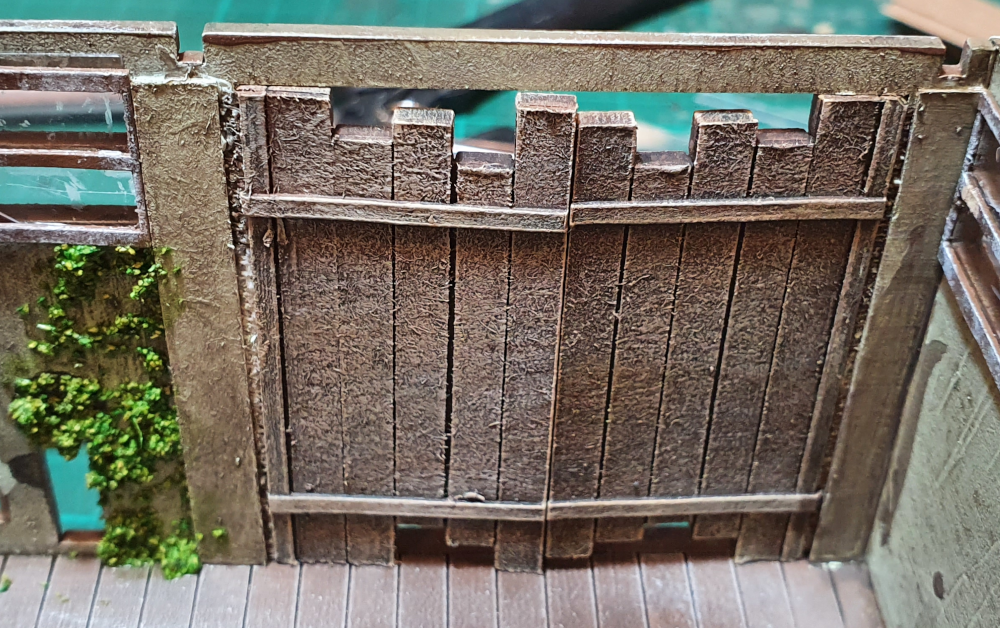
Roof panels were done with stippling/wet brushing Americana Napa Red with a Jasart red oxide over it.
The wood was done with dry brushed Jo Sonja Fawn over the leather brown, then titan buff and finally with folk art Parisian grey.
I used some light green flock and leaf scatter all through it to make it look untidy.
All up i am very happy with it and am going to enjoy playing on it.