Modelling Tips - Gap Filling and Making a head
/I thought i would share a couple of tips that might make things easier when modelling.
Both of these relate to my Moria Goblin army but are useable for anything.
Gap filling:
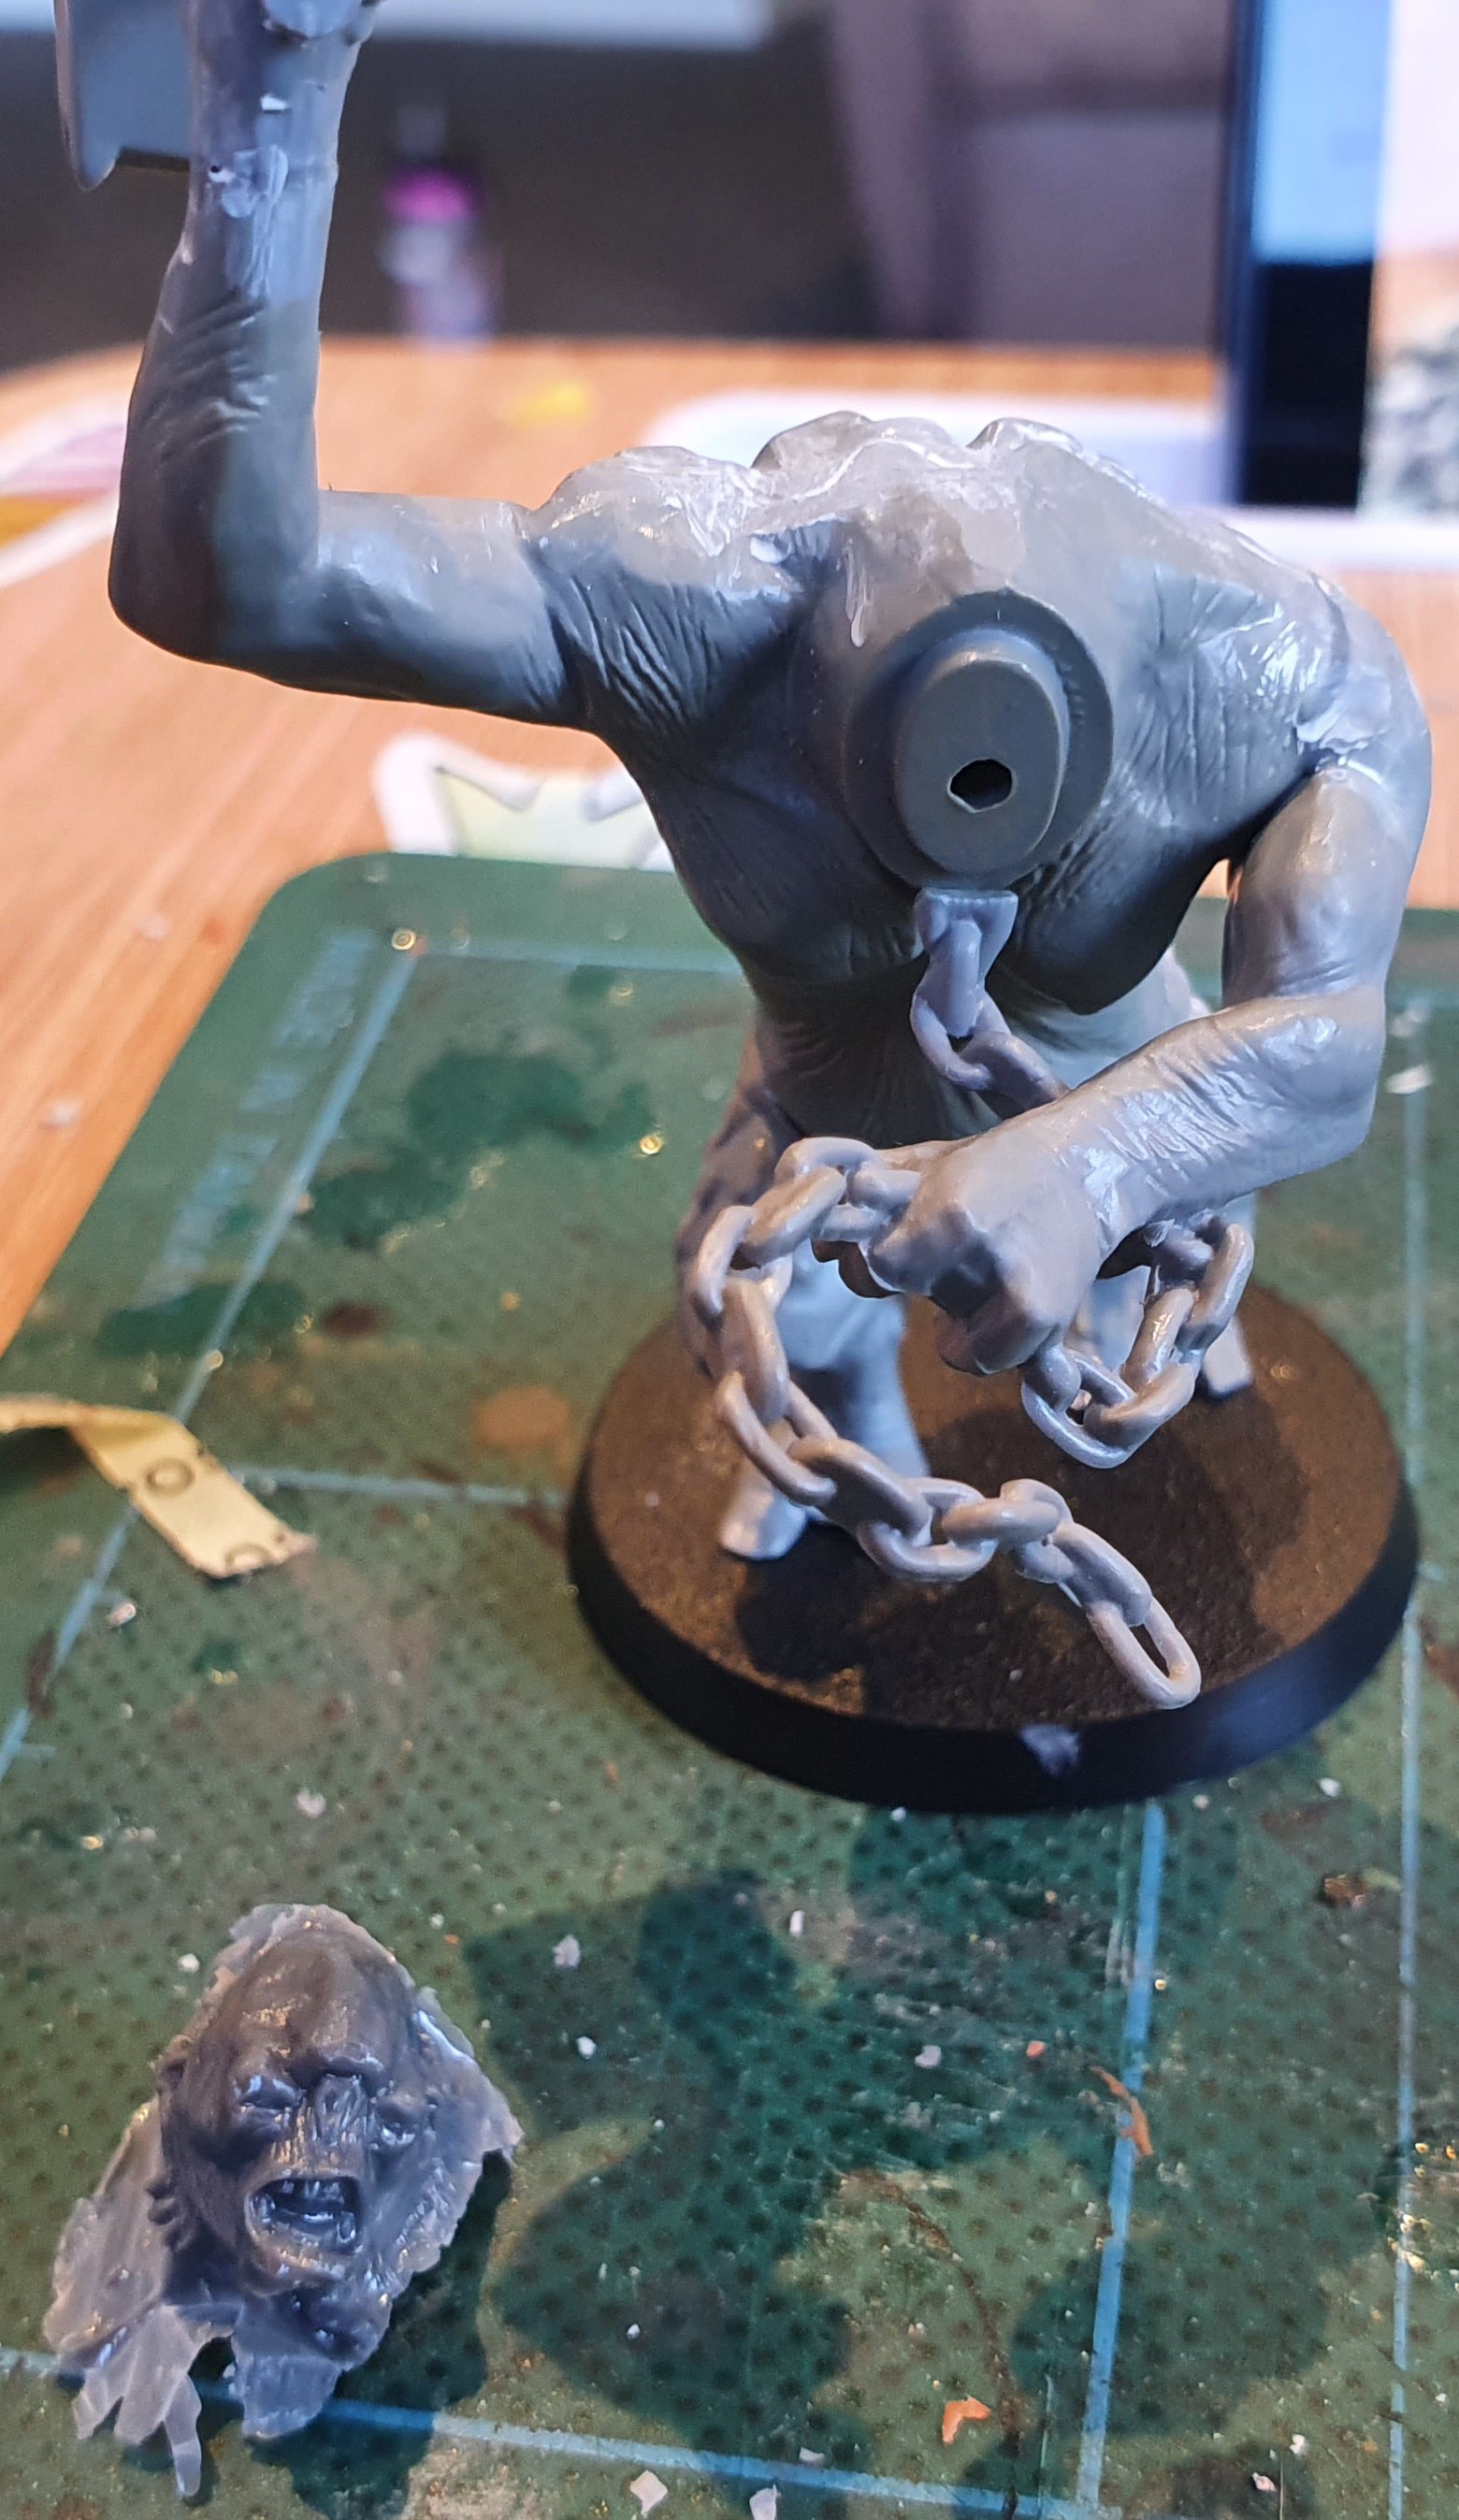
So i have the plastic cave trolls from the boxed game and also a metal one and there are some serious gaps in the plastic. both plastic models were 2nd hand, and were likely glued when the gaps were not closed.


as you can see, some serious gaps. I have tried greenstuff in the past but thats slow, and also sprue goo but that takes ages and is messy.
But i have this new stuff called Vallejo Plastic Putty and it was so easy.

All i did was, using the narrow spout, is run a bead along the gaps, and then when my finger, rub off the excess. it dries quickly and some spots needed another go, but otherwise it was super quick. Results are below on the plastic model and also on the metal one.


Time will tell on teh painting, but i am sure it will be smooth.
Missing Head!
I was getting this army together and it turns out i am missing a head from one of the plastic cave trolls.
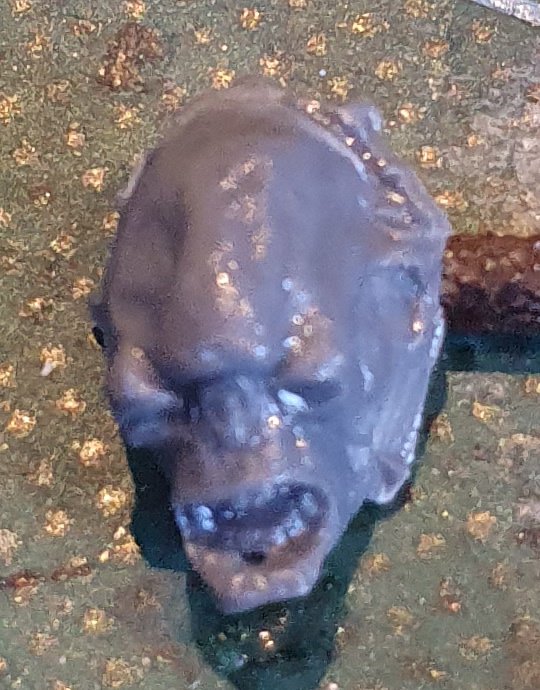
Step 1 was to make a mould of the other plastic troll and the metal one (to see which came out better), with Bluestuff (oyomaru).


I then used sprue goo to make the mould.
First attempt i just dumped in all the sprue goo i needed. it took ages and i thought it had cured but it did not, and you can see this on teh 3rd plastic head below, where its all mushed.
2nd and 3rd attempts, i did lots of small layers, so each layer dried properly. both came out really well as you can see. it took about a week to dry and luckily was working from home so i could do a new layer every few hours.
I also did 2 versions with UV Resin. this took a few minutes to cure, looks good ( you cannot see it well in the photo as its glows with light), but its harder to cut and modify.

I decided to use the metal models head, and cut the flash off and the trimmed it back to fit. it turned out to be hollow so i likely needed to leave it to cure longer but thats actually made it easier to get on the model.
as the head would not fit where the arm is, i cut it back so its looking down. as you can see its come up perfectly. some tidying to be done around the join but it will be barely noticeable when done.